Frontpage
Gallery
Tips & Links
Guestbook
Building:
Shopping List
Tools
Assembly
Shooting:
How To Load & Fire
Security:
How To Avoid Damages
 How To Assemble The Potato Gun
- The following parts are needed:
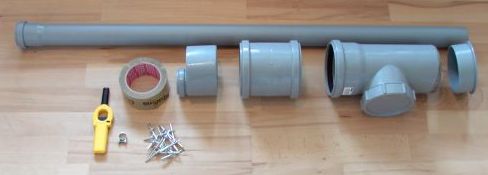
Barrel above, in central part from left is the repair tape, reduction tube, joining tube, "gun powder chamber" and the bottom part. Below is shown the lighter, the metal ribbon and the rivets.
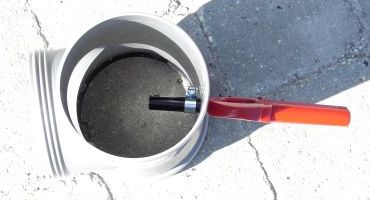
- Drill a hole for the ligther in the gun powder chamber, make it just big enough to make
the lighter fit into it. Fasten the ligther with the metal ribbon as shown below:
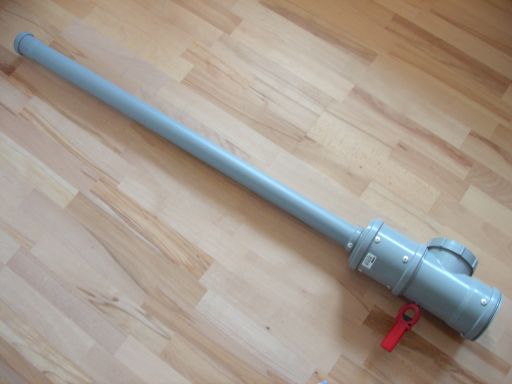
- The rest of the gun is assembled almost as shown above in item 1. Drill a hole for
all the rivets in all joinings, 4 rivets each. The joining af the barrel is smaller
so use only 3 rivets here. The result is as shown below:
Tip: Finish one joining before continueing with the next. This way you can look and check each joining is well done and rivets are firmly attached.
- The potato gun is now made and ready for use. The repair tape can be used for bad joinings if necessary.
- Before going on with shooting you should check the security advices.